Having completed a course in Motorsport Engineering a few years ago, and having gained much experience since, Chris decided to embark on his own project - a Mini restoration with performance upgrade. Latest progress has become a regular talking point in the Merlin office, this project has presented some interesting challenges along the way and it is a work in progress.
We thought that this re-build project might be of interest to some of our customers so we've persuaded Chris to share all here in a sort of regular diary spot - with future updates to follow.
The project is already well underway - but Chris introduces it here with a bit about the body, shell, suspension and brakes.
PART 1/ BODY, SHELL, SUSPENSION & BRAKES
When I was 13 years old with only my push bike for fun my Grandad (Gramps) bought me a 1988 Mini for Christmas. I learnt to drive around the local fields where I lived until I was legal and road worthy at 17. My Mini became my every day car taking me to and from Motorsport college and later back and forth to work - here at Merlin.
After a few years I bought another run-around for day to day use as the Mini was flagging and so my pride and joy since 13 went into retirement.
I missed my old Mini. And so after 18 months of it sitting unused and looking very sad Gramps offered me space in his barn so that I could fettle it towards becoming a fast road/track fun car. After quite a bit of work my Mini (now out of retirement) stood up to a few track sessions at the Castle Combe Race Circuit.
In 2012 I decided to give my Mini the make-over it deserved and so the current restoration and performance upgrade work began.
Eighteen months ago I began by removing the fairly standard 998cc engine along with the front suspension and subframe.
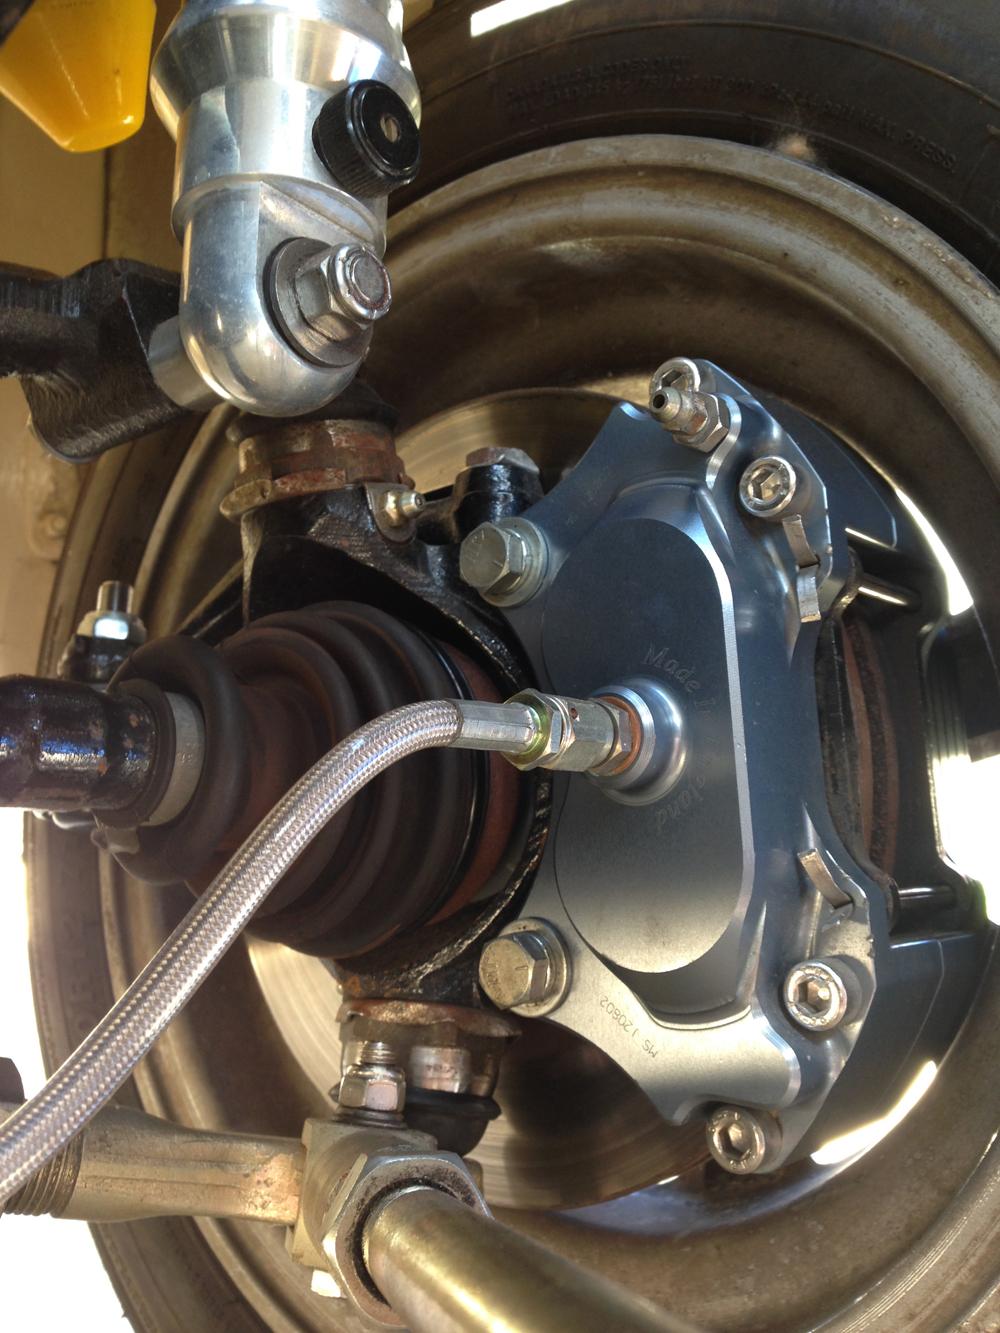
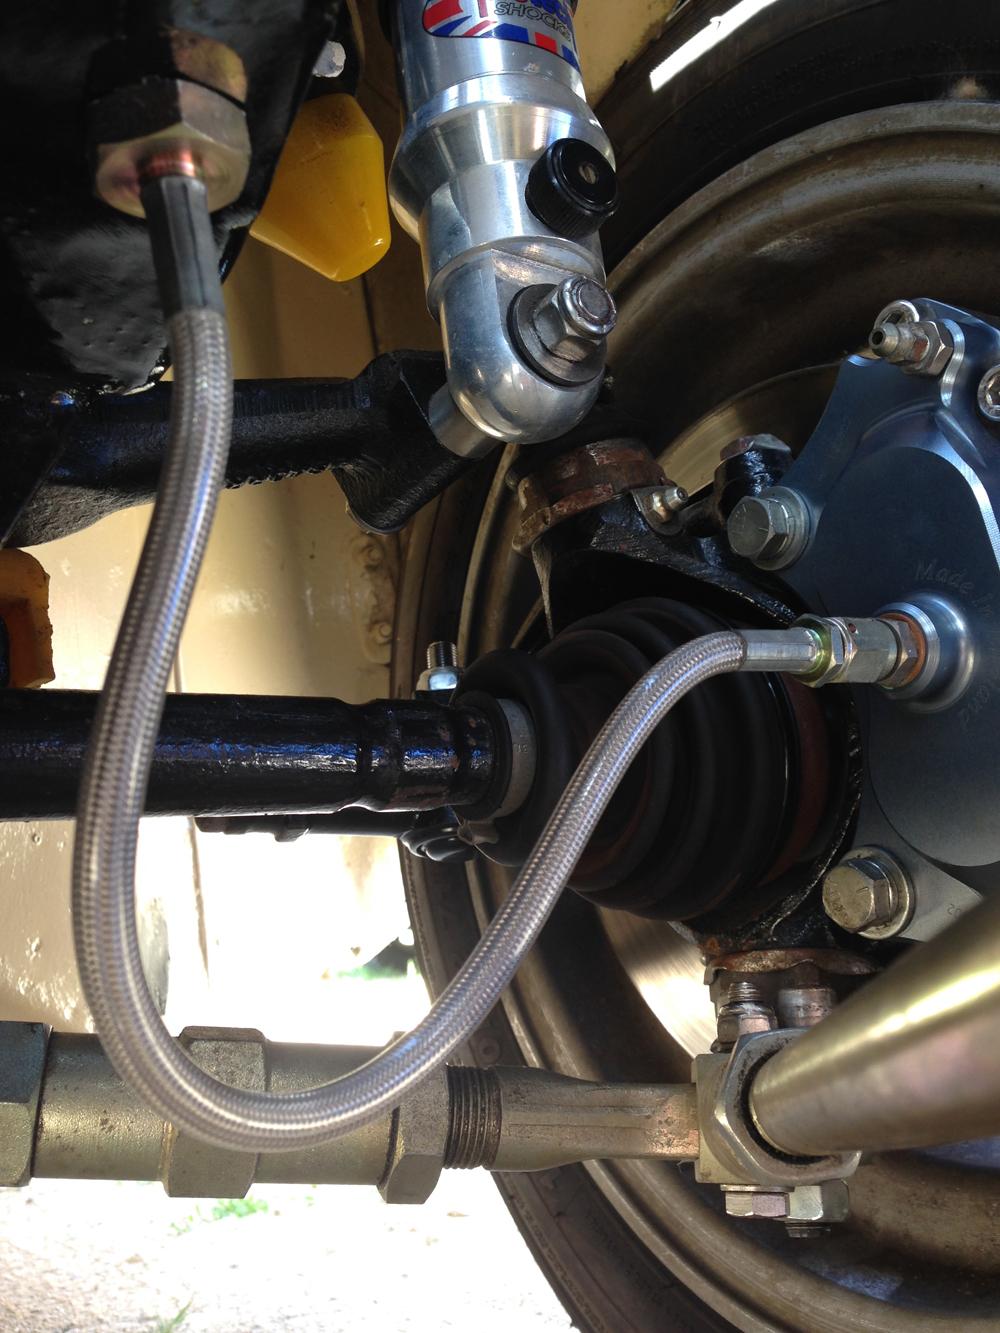
The existing suspension was past its best and I wanted to upgrade the suspension to allow front suspension adjustment for camber and tracking. I decided to replace all the suspension components with brand new, fully adjustable items and I also fitted large 4 pot alloy brake calipers and uprated discs etc. Following this the front subframe was repainted using hammerite.
I was keen to use Goodridge for the brake line, we supply a lot of Goodridge at Merlin, it's the best choice and I wouldn't have wanted to use cheaper quality here. So, I assembled the Goodridge brake lines in the Goodridge workshop here at Merlin after hours with a bit of help from the boss!
Instructions here on - How to assemble a Goodridge Brake Line
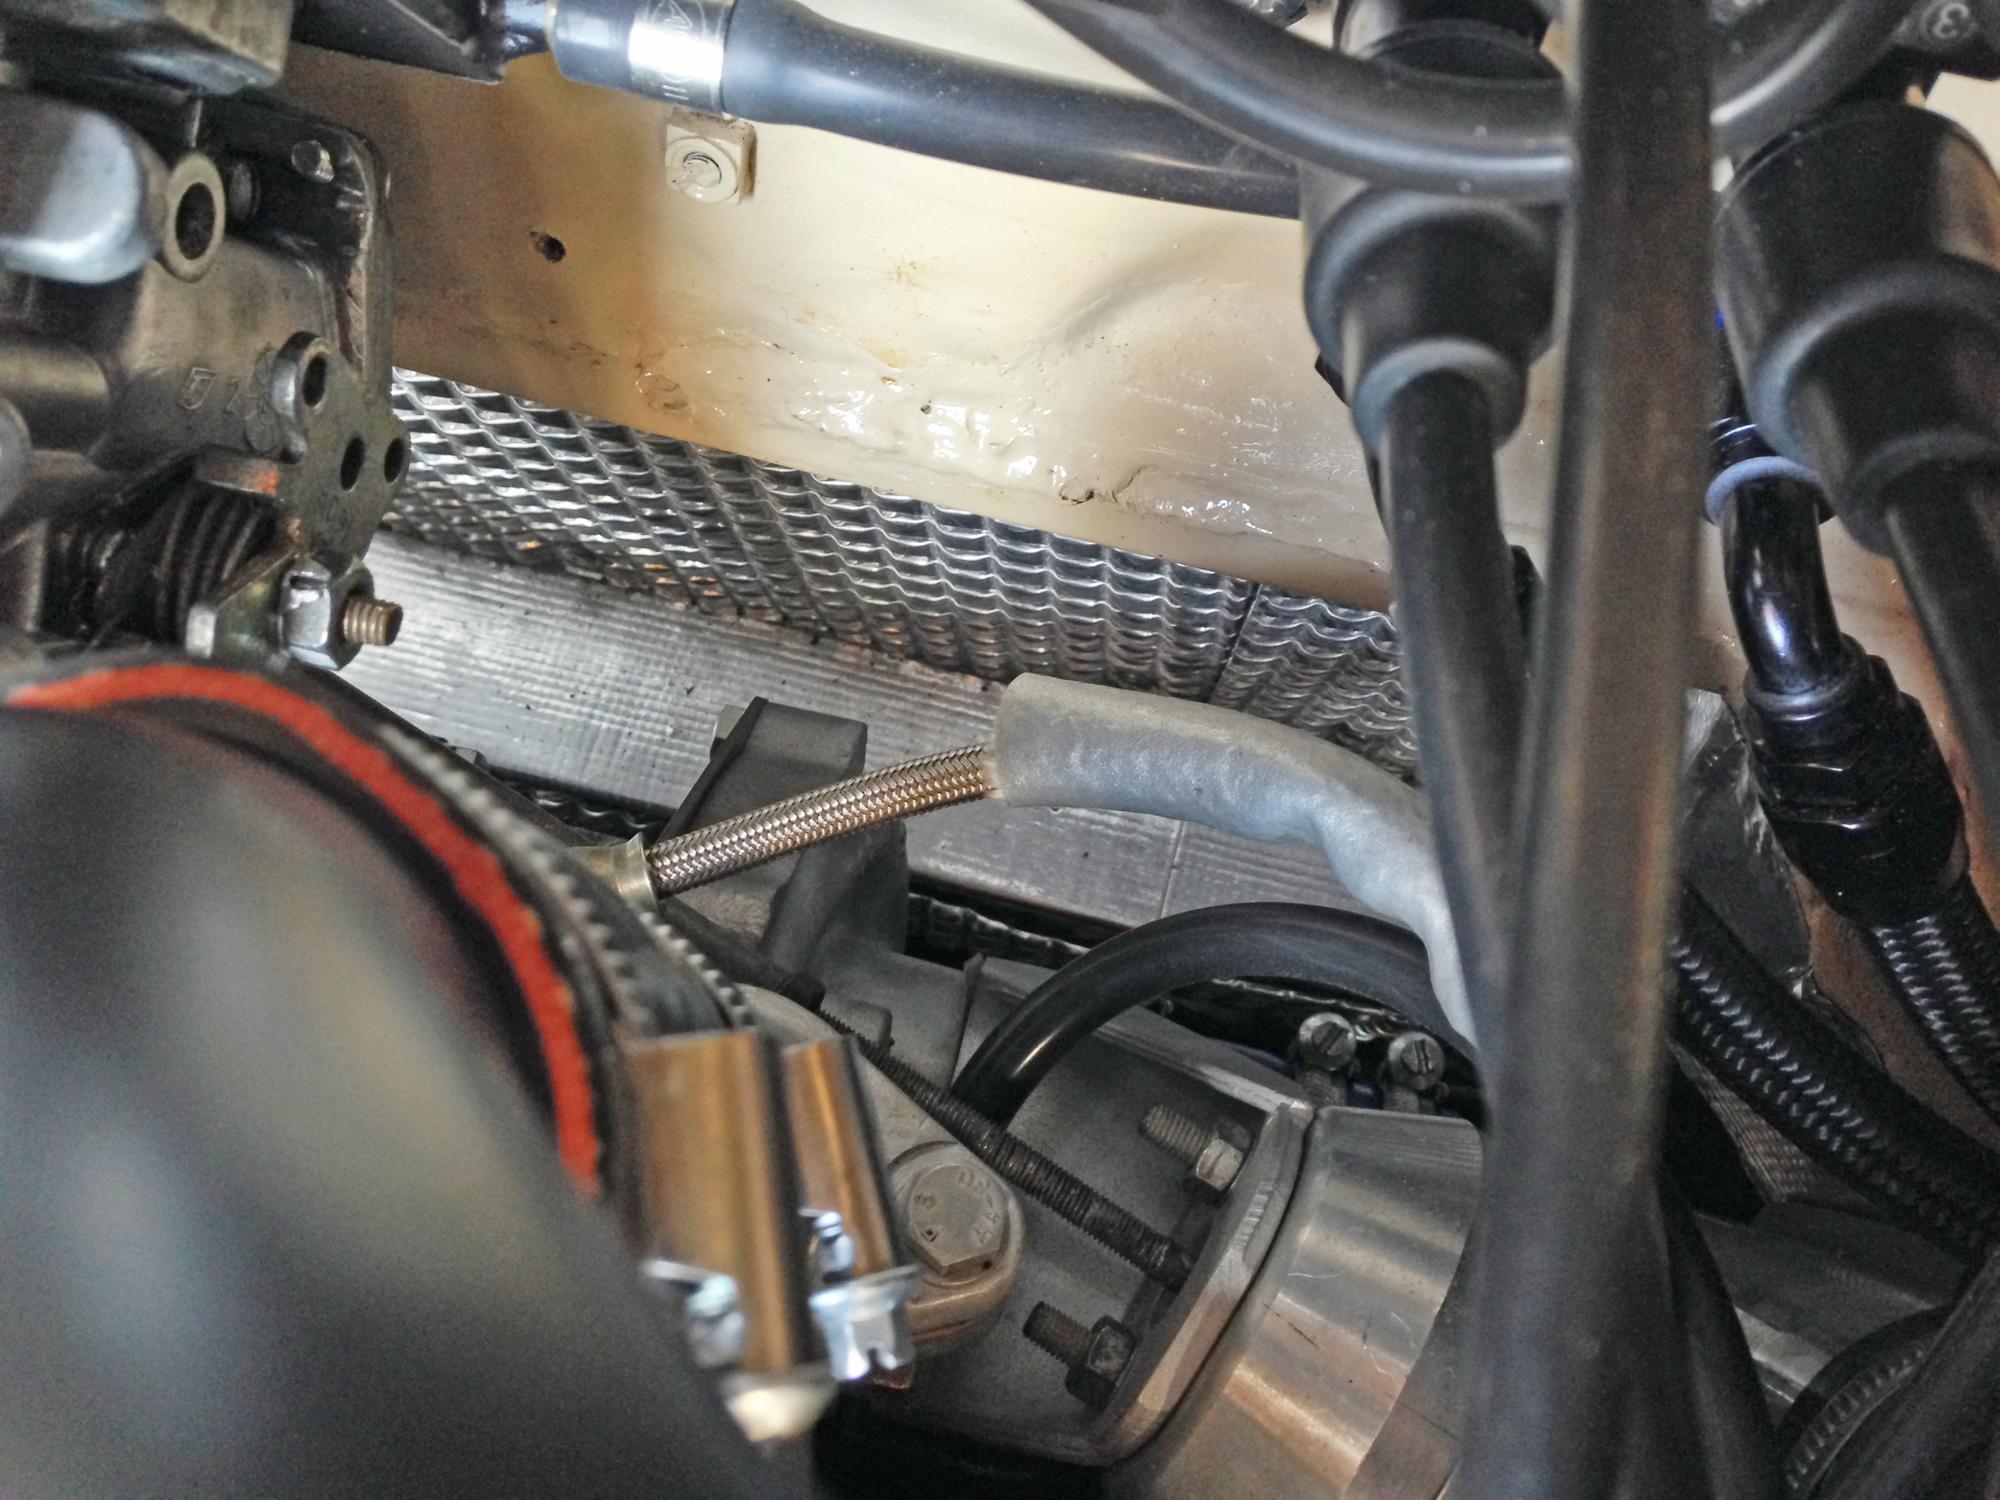
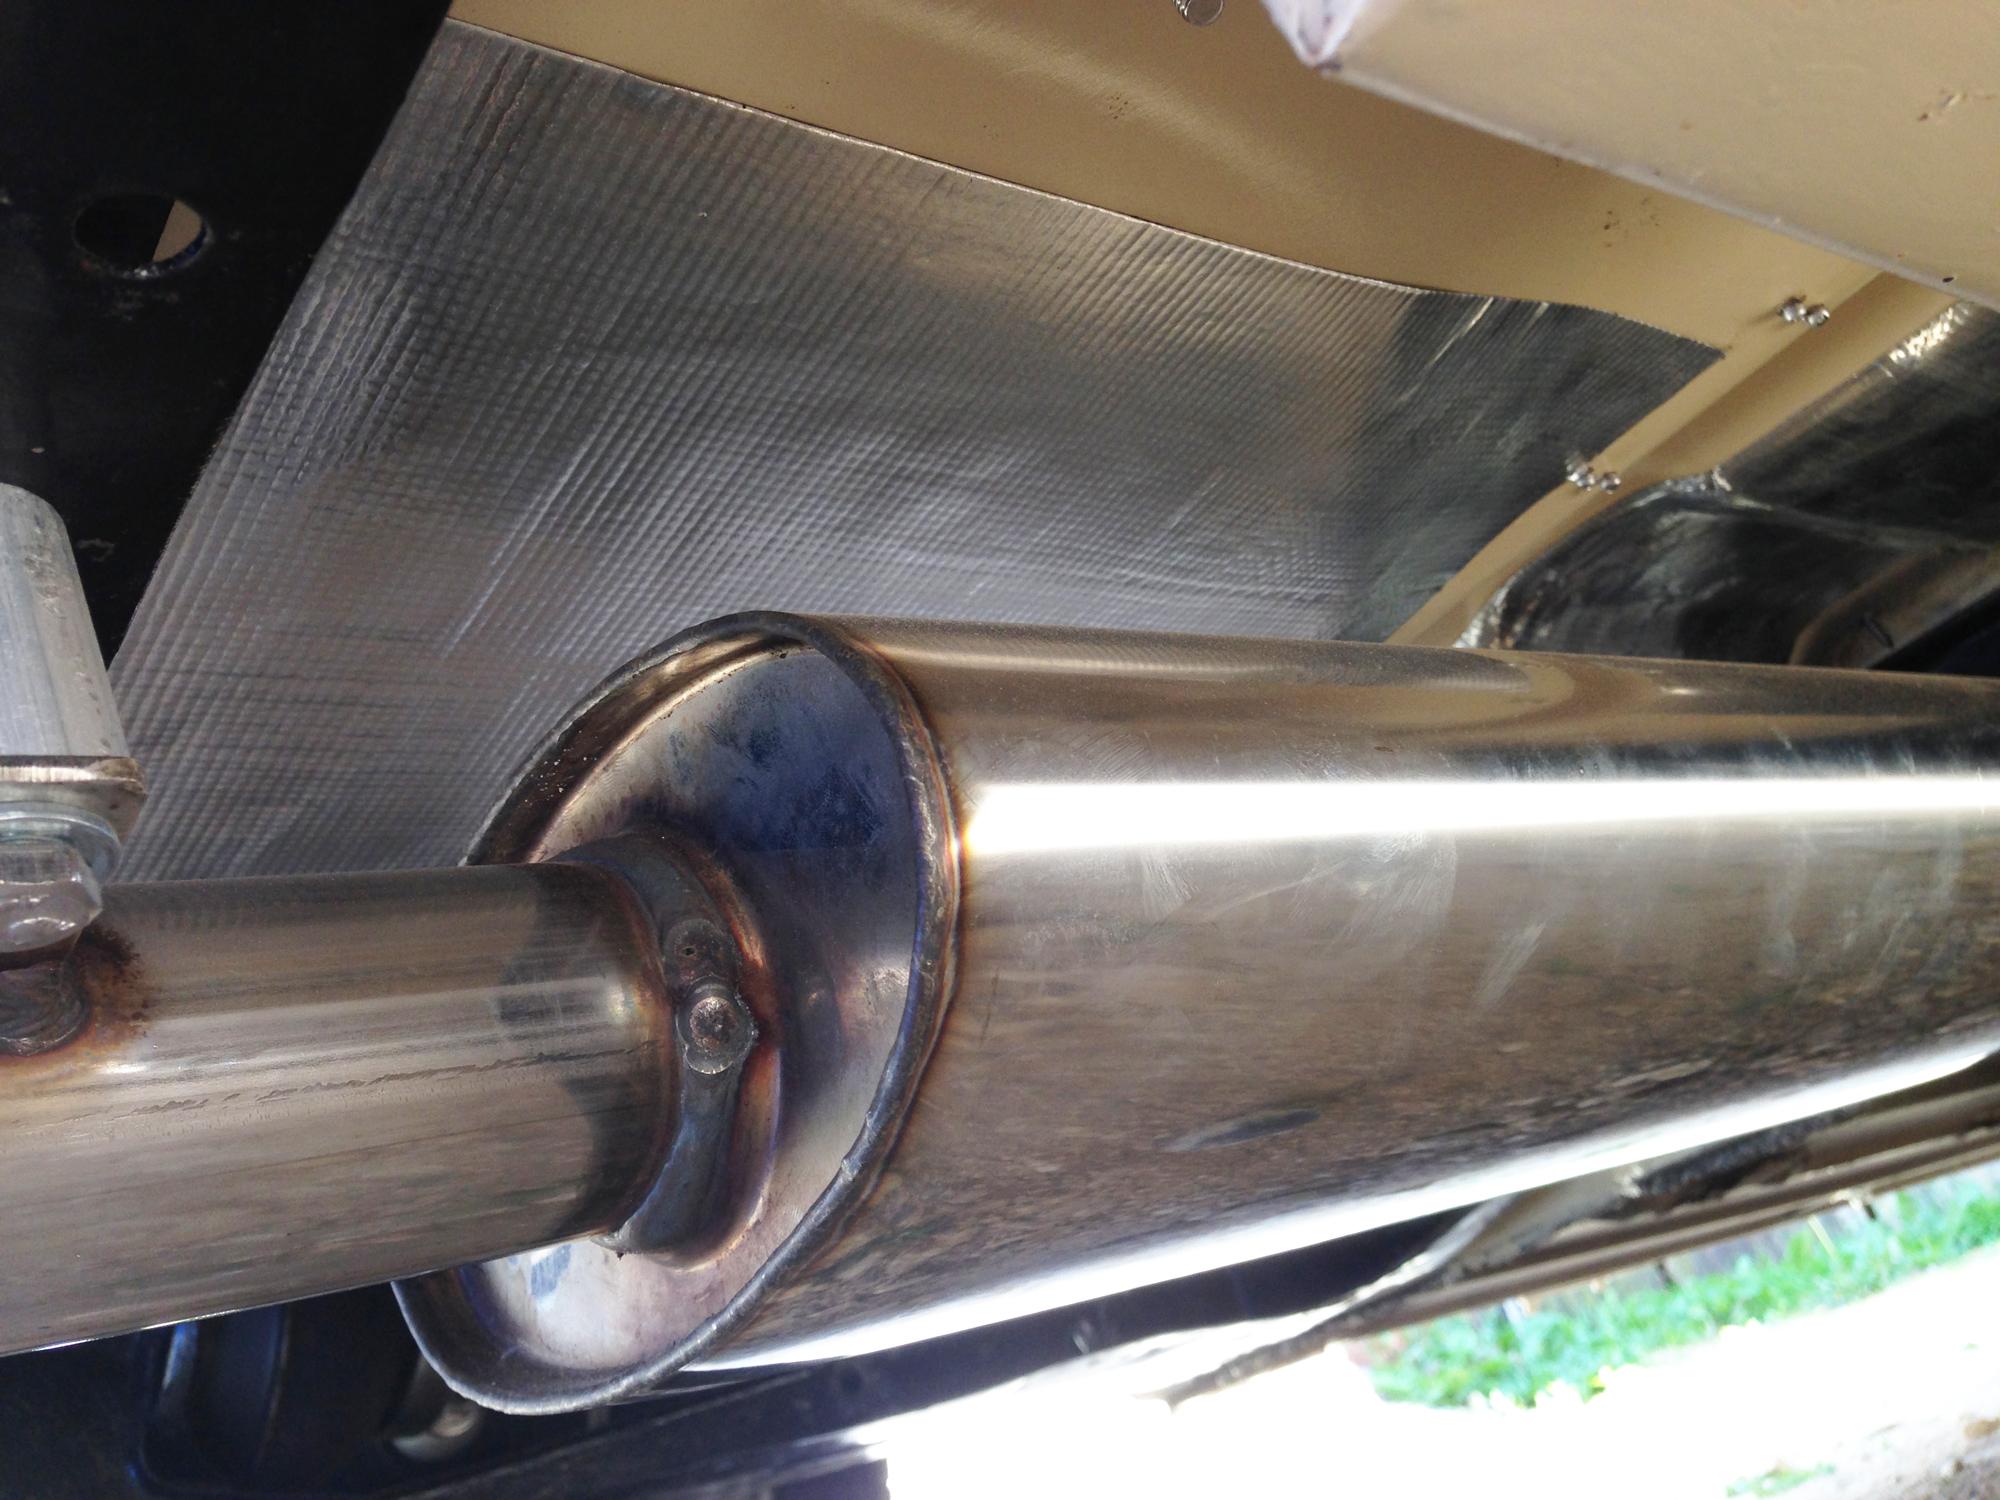
At this stage the front bulkhead was modified ready to fit the new engine. I used Nimbus and Cirrus heat shielding to protect the bulkhead from heat and also used Zircoflex self adhesive heat shielding on the 'harder to reach areas' on the exhaust tunnel and subframe.
I used this - Nimbus & Cirrus Heat Shield
and this - Zircoflex I Ceramic Heat Shield Material
and this - Goodridge Fireproof Sleeve
Next up was removal of the rear subframe to clean back to bare metal and a few fresh coats of paint. As part of this work I fitted new suspension components to allow the rear suspension to be adjusted for camber and tracking
Zircoflex heat shielding was fixed to the underside of the boot floor to protect it from the exhaust heat. Again, I made the brakelines in house here at Merlin using Goodridge components.
More to follow....